Leading Lines in Photography: A Complete Guide
![]()
“You don’t take a photograph, you make it,” Ansel Adams once said. Great point, but let’s take it a step further. An important thing to remember is that photographs are just a type of picture, and pictures are made of lines.
One of the most important lines in photography is the leading line. A leading line is a line in a composition that guides the viewer’s eyes from one part of the picture to another. It is often used to point to the main subject or region of interest in the frame, and it’s a very effective tool to control how a viewer reads your picture.
![]()
How Leading Lines Work
Leading lines are used in all types of photography to guide the viewer and organize the frame. You see them in landscapes, astrophotography, scenics, sports, wildlife, architecture, photojournalism, portraits, and every other genre. A road leading to a house is a leading line. A fence stretching across a field that draws you to a barn, a cow, or whatever, is a leading line. A branch pointing to a bird is a leading line.
Other examples include a trail or path, power lines, arms, legs, reflections, ripples in water, a flock of birds, a line of people, cars, shoreline, wave, river or stream, rocks, horizon, mountains, footprints…the list could go on and on.

How to Find Leading Lines
As mentioned, pretty much anything can be used as a leading line. It doesn’t have to be an obvious continuous line like a road. It could be a series of rocks, flowers, or even stars like the Milky Way. The trick is to see these things not as rocks, flowers, or stars, but as lines and get them to point to something.

Claude Monet, the great Impressionist artist, has some helpful advice on that score. “To see we must forget the name of the thing we are looking at,” he said. I don’t know if he really said this quote that is widely attributed to him, but if he didn’t someone should have. It’s great advice for “seeing” compositionally and in “making” rather than taking photographs. So forget the name of things for a moment and treat everything as a design element when composing your images.

Your phone or the LCD screen on the back of your camera can help shift your mindset and you see things that way. The screens compress scenes into two dimensions, which makes it easier to see things as pictures with lines rather than objects with names.
Technically, leading lines are supposed to point to something, to lead you somewhere. However, like any so-called “rule”, it’s just a guideline and you don’t have to be a fanatic about it. The “something” that the line leads to doesn’t always have to be emphatic. Sometimes the destination can be more like a hint than a big bang.
For example, something as simple as a splash of beautiful light can be enough to create a feeling of destination for a line. Look at the image above. The dirt road goes nowhere. It just disappears into the woods. So I used Lightroom’s Radial Gradient and mask to brighten up the area in the background. It helps to draw the eye through the image and create a sense of place. There’s a feeling that there’s something back there. We don’t know exactly what it is, but that’s okay. Sometimes it’s helpful to leave something to the viewer’s imagination. Let them finish the image.

The Decisive Moment
Or let’s say you find a great line, but nothing is happening at either end. You could follow Henri Cartier-Bresson’s approach and wait for the Decisive Moment. In other words, set yourself up at one end of a line and wait for something to happen at the other end.
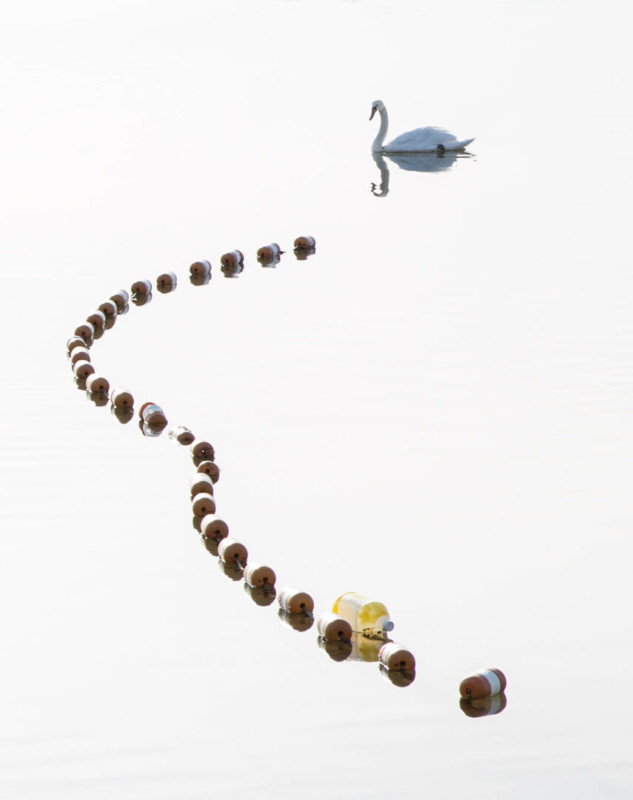
In the picture above, I liked the pattern created by the line of buoys in the water. It was interesting, but it was just lying there. Then I saw a swan heading my way. I watched and waited until the swan was in position at the end of the line to hit the shutter button.
Editing Leading Lines
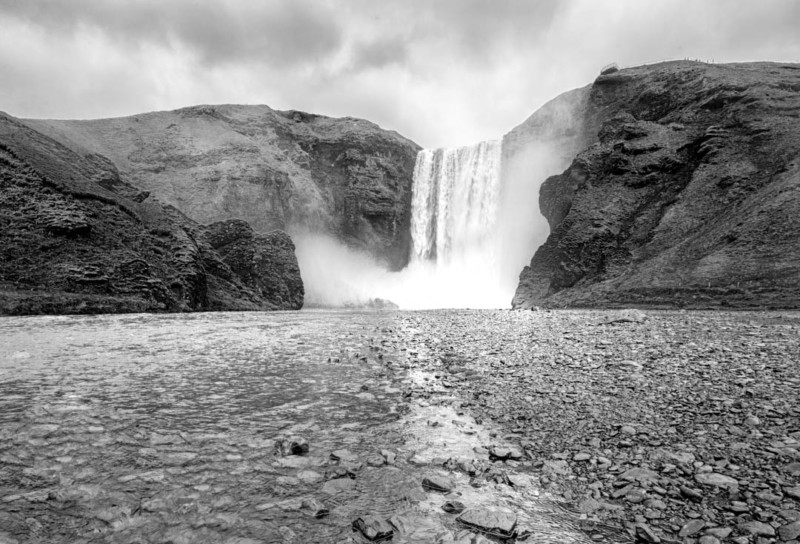
Sometimes it can help a photo if you add a little emphasis to your leading line. For example, if you have a trail leading somewhere, use Lightroom’s Adjustment Brush – or whatever tool your software has – and do a little dodging to brighten the line a bit. Just don’t overdo it. You want it to be a fairly subtle adjustment, just enough to make the line pop a bit and draw the viewer’s eye.
There are always exceptions. There may be times when you want the line to shout “here I am!” If that’s the case, crank up the brightness. However, less is usually more.
Make Your Own Leading Line
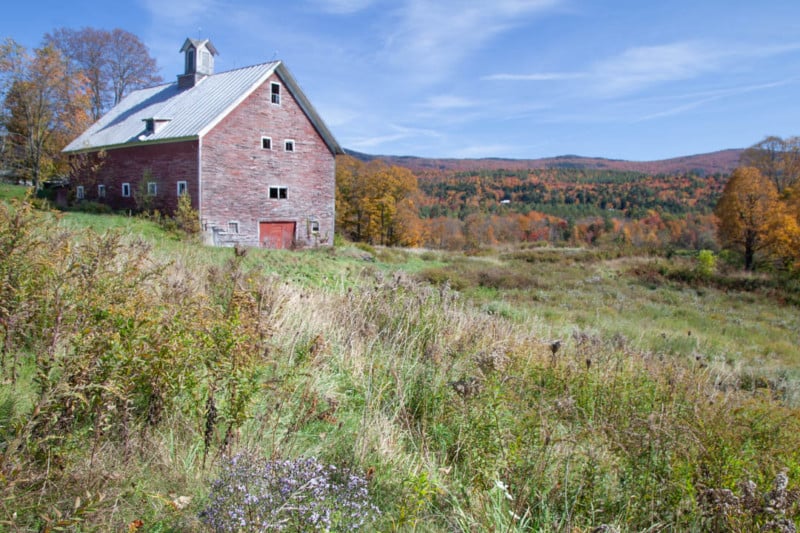
You can even use a subtle brightness adjustment to create the impression of a leading line if one doesn’t exist. For example, let’s say there’s an old car in a field of grass. Use Lightroom’s Adjustment Brush to paint a line through the field to the car. It doesn’t have to be precise. Use a soft feathered edge and jiggle it a bit as you paint the line. Then drag the Whites or Exposure slider to the right a bit to create a small adjustment in brightness and you’ve created a path to the car.
Lines Do More Than Lead
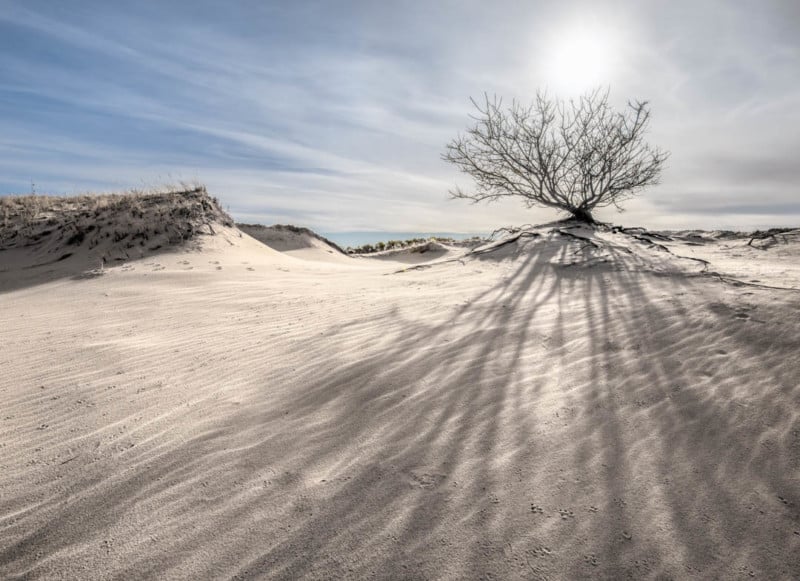
In addition to acting as an arrow that points to a subject, the shape of a leading line can affect the emotional impact of an image. For example, diagonal lines create a dynamic sense of energy and flow through an image. Horizontal lines tend to feel static while a vertical line may feel rigid or imposing. Curved lines like an S or C curve have a relaxed sense of flow to them while a zig-zag may feel more nervous or tense. A broad line will feel bold while a thin line may feel precise and surgical. Converging lines create a sense of distance and perspective while diverging lines are expansive.
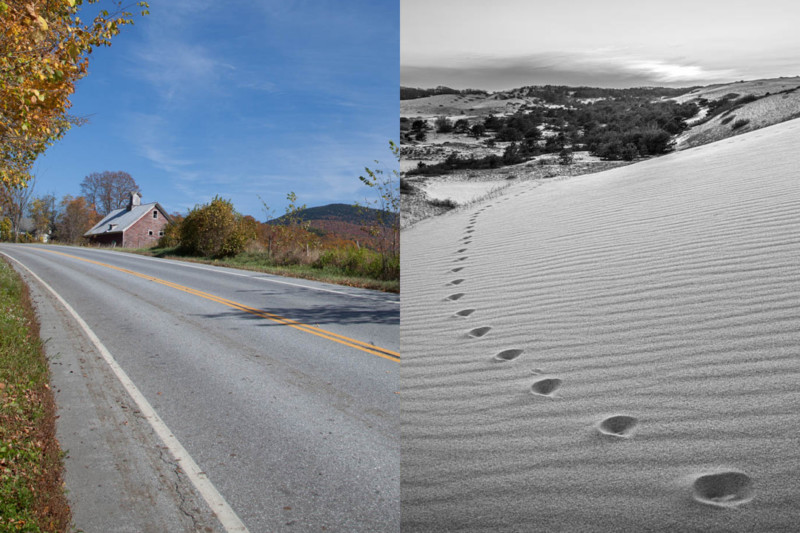

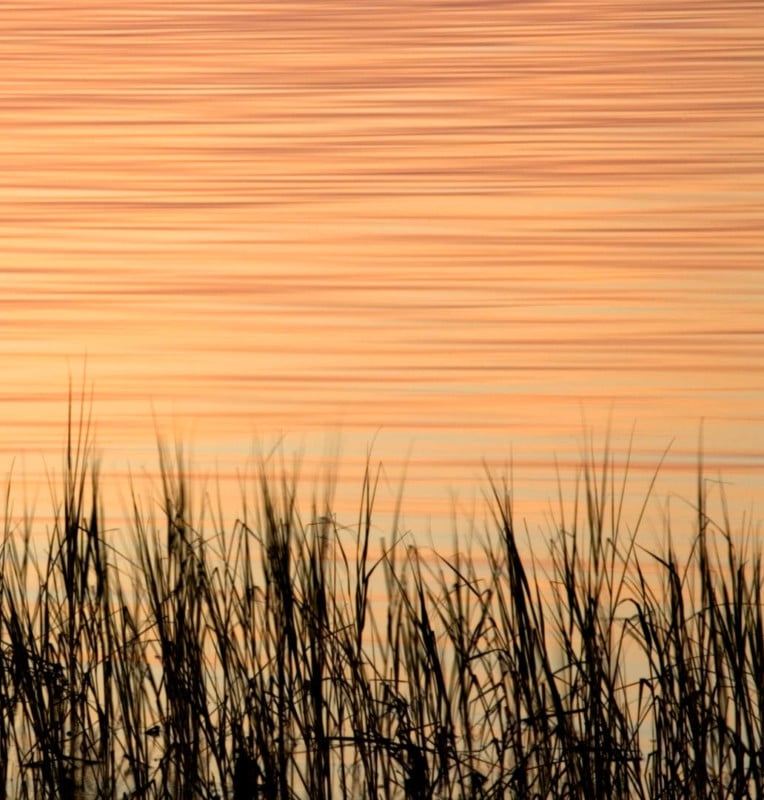
Sometimes a line or lines can be the star of the show and not just lead you somewhere. Properly framed, lines create interesting patterns and textures that can stand on their own as designs.
Conclusion
The challenge we all face as photographers is to turn a scene or moment into a photograph. Lines are a fundamental element of design and are used in every form of visual art from architecture and landscape design to sculpture, graphics, painting, and photography. They are part of the visual grammar that helps images communicate. Learning to use lines will help you create more compelling compositions and move you from “taking pictures” to “making photographs.
About the author: John Tunney is a fine-art photographer and instructor living on Cape Cod in Massachusetts. His work has been featured in in a solo exhibition at the Griffin Museum of Photography and in many solo and group shows in galleries and other exhibition centers. His book, The Four Seasons of Cape Cod, was published in 2016. He teaches programs on Cape Cod, in Maine and in Iceland.
Image credits: All photos by John Tunney.