Intentional Camera Movement: An Intro to ICM Photography
![]()
I have been getting quite experimental with my photography this year and recently stumbled upon Intentional Camera Movement, or ICM, photography. I fell into the work of photographer Andy Gray and was immediately blown away by the painterly feel of his images.
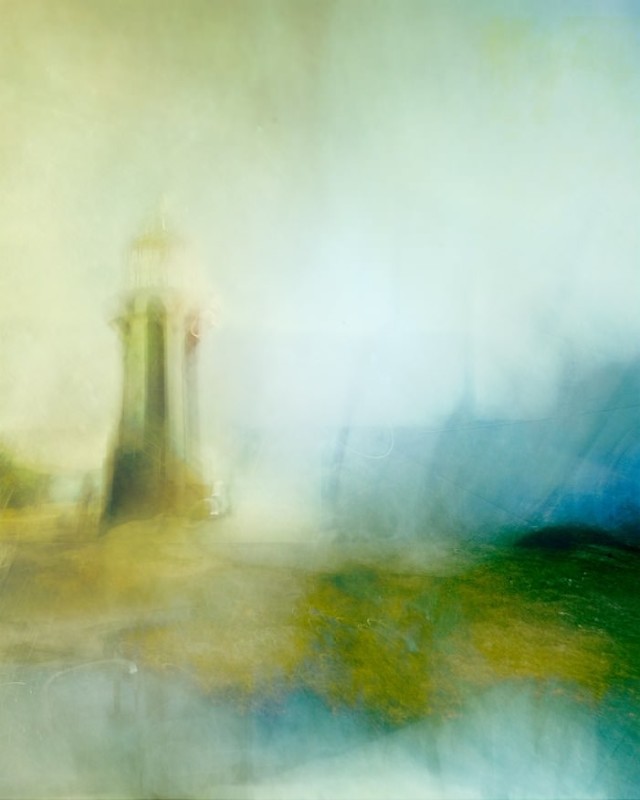
A 3-Part Video Tutorial on ICM Workflow
Thankfully, Andy has a wonderful YouTube channel where he breaks down step-by-step his entire process, from capture to post-processing. I definitely recommend checking it out to see just how much work goes into each image.
Camera Equipment for Intentional Camera Movement
What’s required? Well, a camera, though megapixels don’t really matter given the abstract nature of the finished product, and also an ND filter. It seems something between a 6-stop and a 10-stop is what works best, allowing exposures within the 0.5-1.5sec range during the middle of the day. If you wanted to skip the filter, I suppose you could shoot closer to sundown and sunrise where the exposures would be longer handheld. Like everything with this technique, however, there are no hard and fast rules. It is all about experimentation.
I opted for a 6-stop in 77mm to suit my Sigma 50mm f/1.4 and also 24mm f/1.4, a wider lens being the preferred option. At around $100 AUD (~$59 USD), it’s not a terribly expensive way to get into ICM, plus you can use the filter for more traditional purposes.
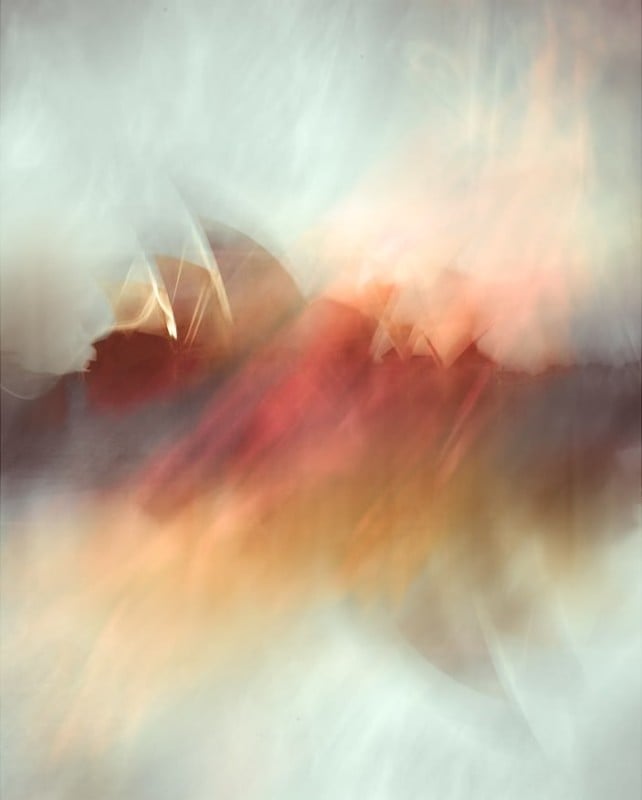
The Sigma SD-H itself probably isn’t the best choice of camera. It buffers slowly and the RAW files are tedious to process when you get back home, requiring you to be somewhat picky when it comes to post-processing. Expect to take a lot of photos.
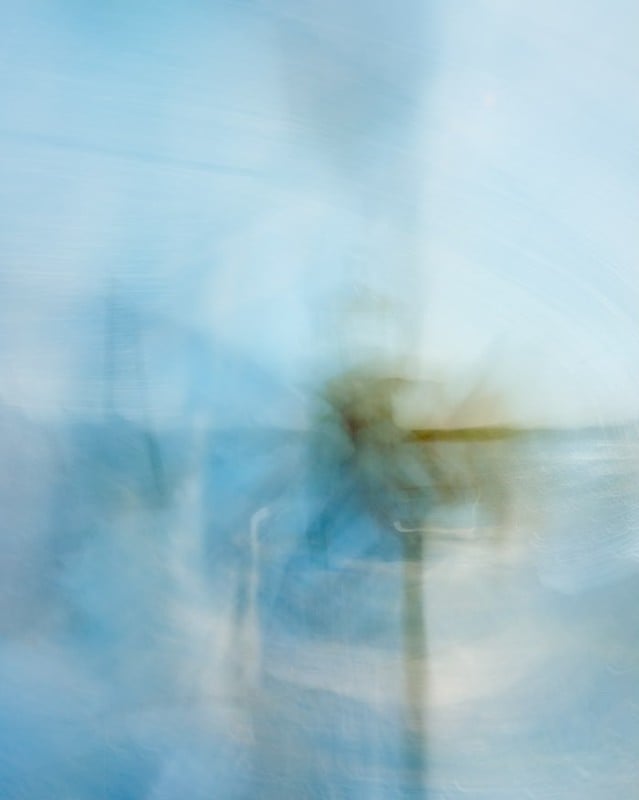
The Process of Shooting ICM Photos
As for the process, if you watch Andy’s videos you’ll get an idea of the movement required. I set f/11 and around 0.5sec, starting with a shaking motion and then a longer, whipping motion. I slowly worked up to longer exposures, trying to follow lines within the scene. It’s very much like painting… with a very expensive brush.
If there are people around, note this: you are going to look like an absolute idiot. One guy suggested ‘I don’t think that’s how you use a camera, mate’. I simply smiled back, not able to dial up a suitable comeback in time. I found the best results were when I really got into it, almost violent in the movement, in order to be able to create the required textural effect.
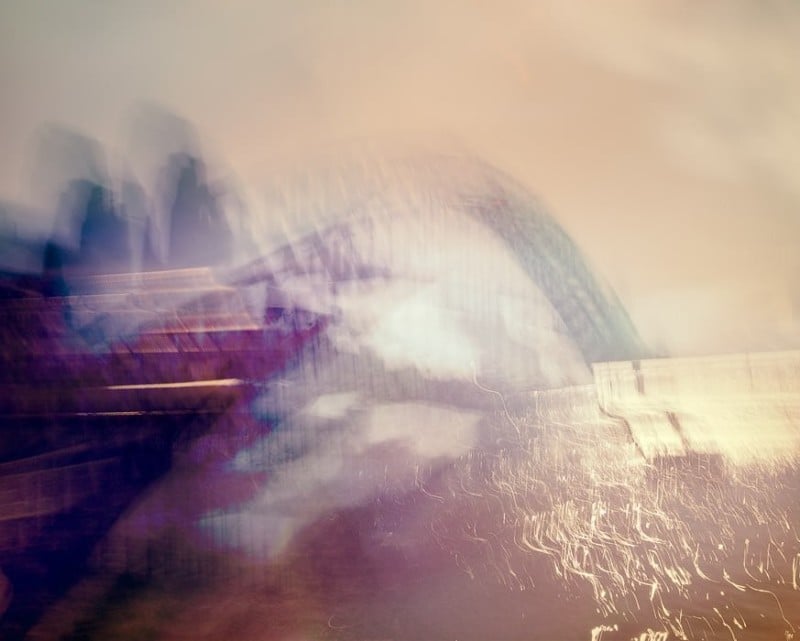
It’s also important you start with a regular composition in mind, just as you would if you were taking a traditional landscape. You need a prominent feature or point of interest the abstraction works around. So, frame up the scene as would normally and then go to town. I don’t have any castles or ruins nearby like Andy, but I do have Sydney Harbour and its many wonderful icons.
Another important point is to beware of highlights. It was an extremely bright day when I first tried this. Any small highlight source within the frame can easily ruin a shot by basically slicing it up with pure white. It’s a little hard to explain, but if you think you see specular highlights that are going to be blown out, avoid them in your movement.
Post-Processing ICM Images
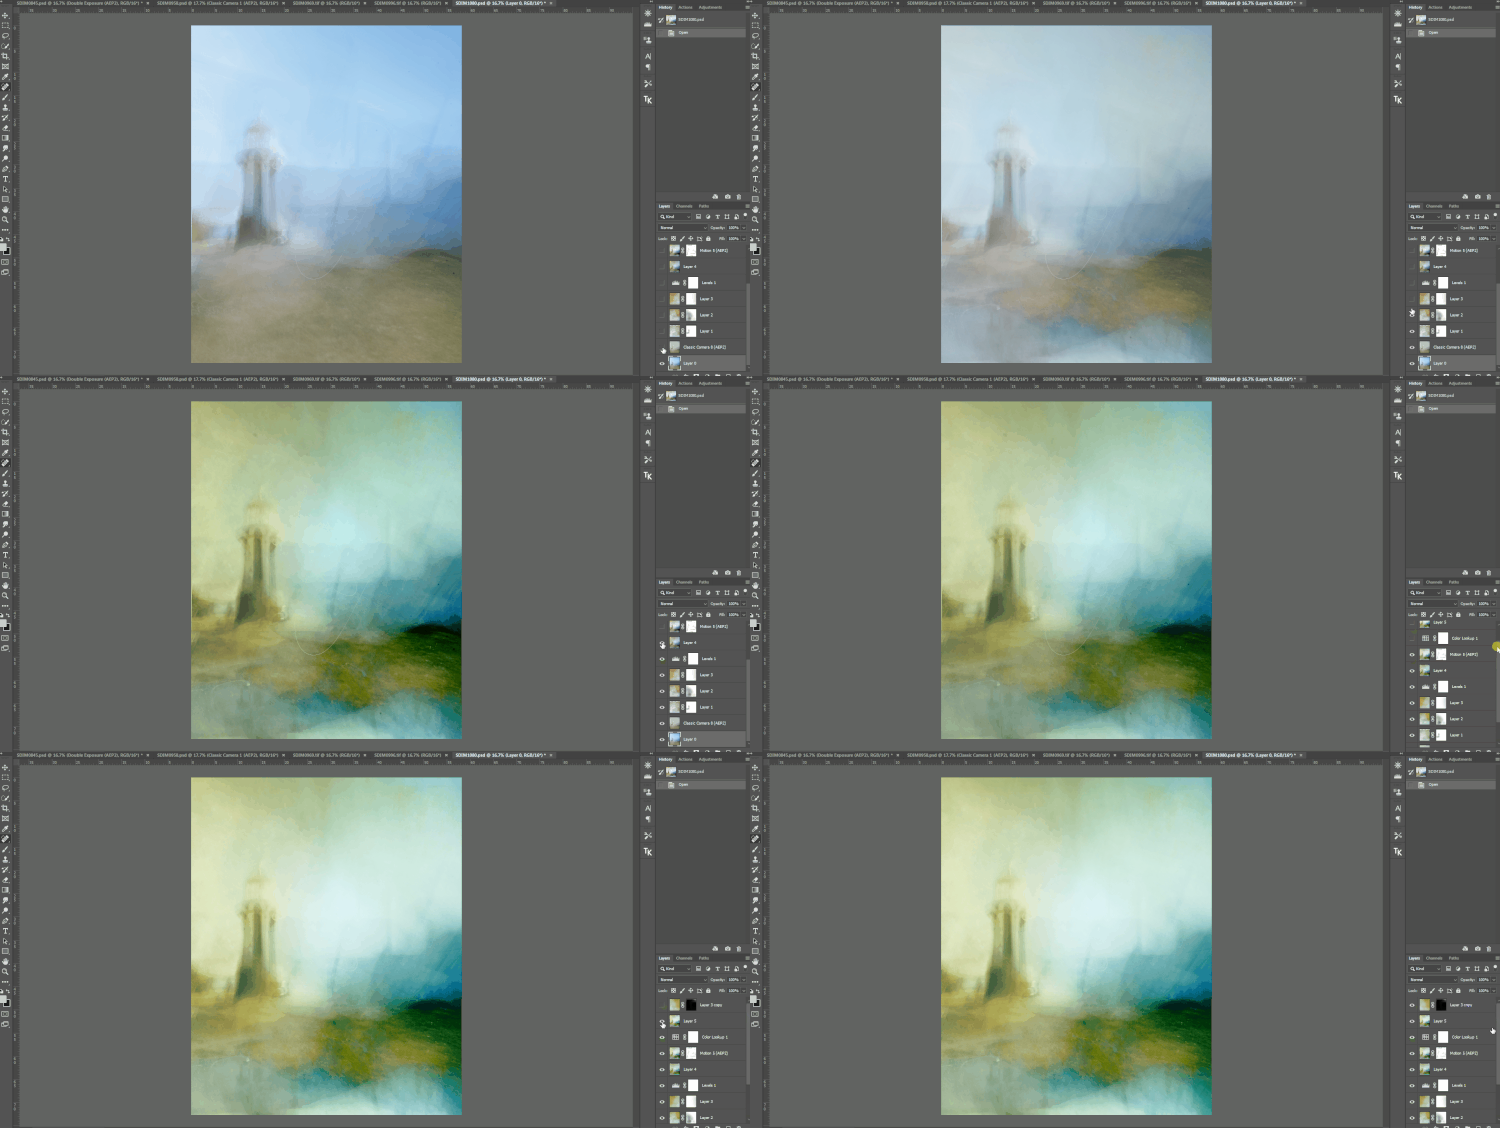
Into post-processing. I simply looked for frames that stood out where the movement seems right and balanced, or the texture was right. From there it’s into Photoshop, stacking up the layers and running through masks and blend modes to find an initial base to work from.
Once the initial image has started to come together, it’s into Analog Efex Pro 2. Here, Andy uses a variety of tools to help further abstract and shape the image, but notably vignette, double exposure (inverting the image), and film effects.
I found it also helped to scroll through the factory camera presets within Analog Pro 2 to see if anything worked, especially the ‘Motion’ cameras. Andy also uses Vivuza for spot adjustments, but I didn’t feel the need myself. As they say, there are lots of ways to skin the cat in Photoshop.
I think of post-processing in two parts: Color and contrast, effectively leaving color until last. I tried a curves layer first, adjusting RGB channels individually, but I couldn’t seem to make it work. Instead, I loaded up a LUT adjustment layer and simply scrolled through all the LUTs I have on file (which is quite a few) until I found something I liked and adjusted opacity from there. The Selective Color and Hue/Adjustment layers were good for fine-tuning.
Finally, I let the images sit there for days at a time, slowly tweaking them until I thought they were good enough. It’s very easy to get stuck in a kind of ‘post-processing loop’ with these sorts of images, constantly adding and removing adjustment layers and masks, tweaking and tweaking and circling back on yourself. When I found myself doing this, I would turn off all layers except for the base exposure and add them back one by one adjusting as I went.
Intentional Camera Movement is Rewarding
Here are a few images that show the interesting detail when seen at 100%.
![]()
![]()
![]()
Overall, I think I’m pleased with the results, though they are not what I expected at all. That’s the beauty of a style like this: You don’t know what you’re going to get. I’d love to make some prints and really study them.
I will say it was extremely frustrating at times. The images took a lot longer to process than usual largely in part because so much trial and error is required. It is rewarding, though, when you finally have something on-screen that doesn’t look like a dog’s breakfast.
You can find more of Andy’s work on his website, YouTube, Facebook, and Instagram.
About the author: Jason Round is a photographer based in Sydney, Australia. The opinions expressed in this article are solely those of the author. You can find more of his work on his website and blog. This article was also published here.